So what does the bottom of a boat look like after its been left on a mooring for 5 years?
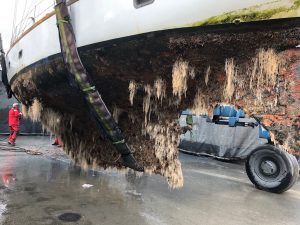
We had no idea what we had, and the hull could have been a basket case but, after pressure washing we found 20 coats of various paint even with shells between coats! But most importantly the hull was sound with some relatively minor areas that needed attention.
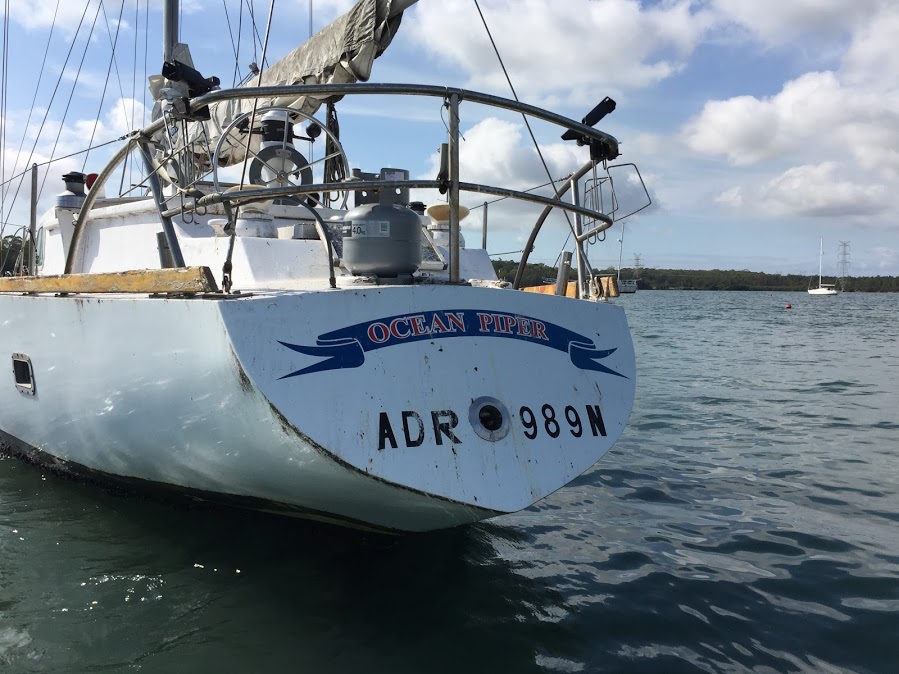
Well that was really the turning point for us, we now had a floating holiday home that not only moved but was worth the time , effort and cash to turn it back into a Yacht.
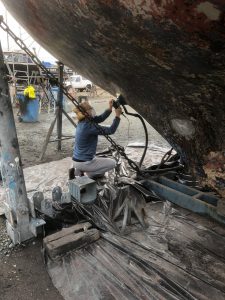
So we scraped and scraped and scraped some more, until we were happy.
Then the yard manager came by and said “you are getting there”, so we spent 2 more days scraping with some much appreciated help from Umby and Luke.
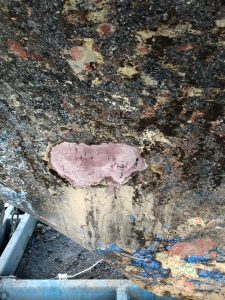
We set aside a week and it rained for 11 days, there were some superficial concrete repairs to do like these…..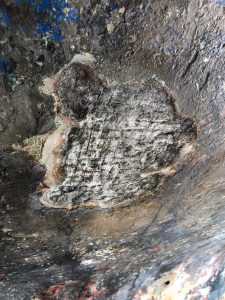
You can see your the exposed mesh still in good condition, and thankfully ferrocraft in Brisbane used the proper 13mm square welded mesh and not chicken wire as some were done in
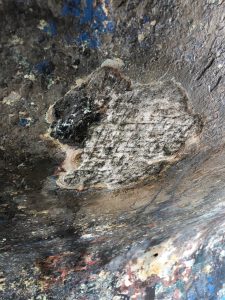
And a pretty big one like this!
The process I used was to chip away all the affected area with chisel and hammer until hard concrete was reached, and let me tell you it is HARD!!
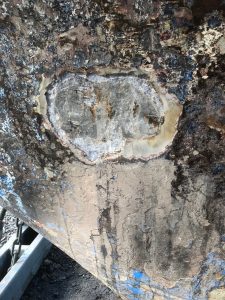
Then the area was treated with phosphoric acid to kill the rust in the mesh, The phosphoric acid makes the rusted material, and rust affected concrete turn black

after that was dry (from acid and rain) they are filled with Megapoxy P1, a concrecious 2 part mix epoxy that is a real pain in the backside to work with. Then a fairing skim coat was applied over the top.
Here’s “The Admiral” at work sanding fairing coat
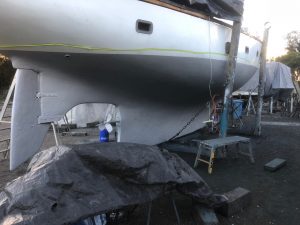
2 Coats of Altex Primer-shield and she is starting to look good!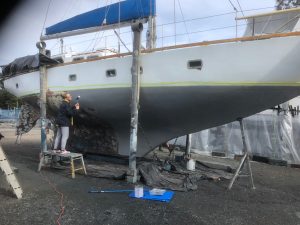
Then a coat of hard antifoul and 2 coats of soft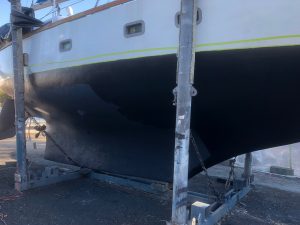
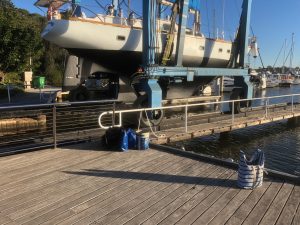
And its back in the water, Yippee!!
Time to Relax